

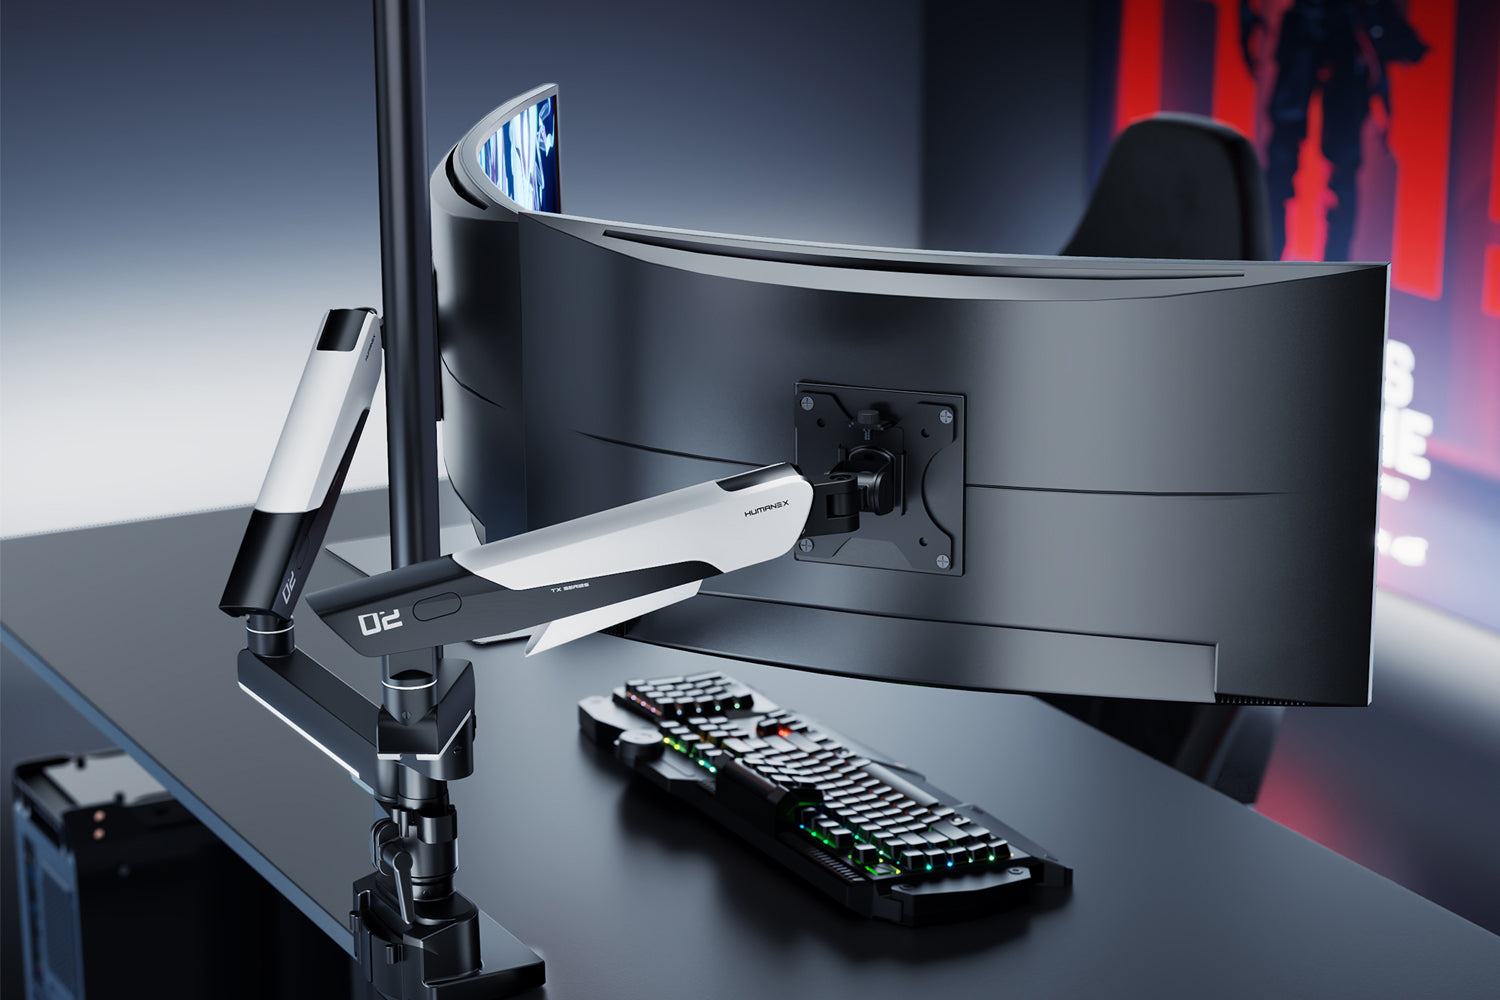
A well-maintained monitor arm is crucial for both the longevity of your equipment and the comfort of your workspace. Regular monitor arm cleaning and proper upkeep help ensure smooth adjustments, prevent wear and tear, and maintain an organized, functional environment. Whether you're dealing with stubborn dust or adjusting tension for optimal monitor positioning, taking the time to care for your adjustable monitor arm can make a noticeable difference in performance and aesthetics. In this guide, we’ll walk you through the steps to clean and maintain your monitor arm, keeping it in top shape for both work and gaming setups.
🧰 Tools Needed for Monitor Arm Maintenance
To properly maintain your adjustable monitor arm, you'll need the right tools. Here's a list of basic supplies required for regular cleaning and upkeep:
Basic Cleaning Supplies
- Microfiber cloth: Essential for dust removal and general cleaning
- Mild dish soap or screen cleaner: For removing stubborn dirt and grime
- Distilled water: To avoid mineral deposits from tap water
- Compressed air (optional): To clean tight spaces
Monitor Arm Maintenance Tools
- Allen wrenches or screwdrivers: To adjust tensions and tighten components (check your model’s requirements)
- Lubricant: Only if specified in your monitor arm's manual
- Spare parts: Extra screws or joint components for future repairs
What to Avoid Using
- Paper towels or rough cloths that could scratch surfaces
- Harsh chemicals like bleach, window cleaners, or abrasive cleaners—these can damage the finish of your monitor arm
- General-purpose oils like WD-40 unless explicitly recommended by your manual
🧼 How to Clean Your Monitor Arm: Step-by-Step Guide
A clean monitor arm works better, lasts longer, and ensures smooth monitor adjustments. Follow these steps for a thorough and safe cleaning process.
Step 1: Power Down and Prepare Your Setup
Before cleaning your monitor arm, turn off and unplug your monitor and other connected devices. Disconnect all cables from the monitor and power sources. Marking the cable positions helps with easy reconnection later. Adjust the monitor arm to a height where you can easily access all parts for cleaning.
Step 2: Wipe Down All Main Surfaces
Use a microfiber cloth to wipe down the main structure of the monitor arm. Gently wipe the support column and horizontal segments to remove dust. Pay special attention to the horizontal parts of the arm, as these often collect the most dirt. Work from top to bottom to prevent dust from settling on cleaned areas.
Step 3: Clean Joints and Hidden Areas
The joints and mechanisms where the arm pivots need extra attention. Use compressed air to blow out any accumulated dust from hard-to-reach spots. For oil or sticky residue, a damp cloth with mild soap can work wonders. Make sure the pivot points are cleaned carefully to avoid pushing dirt into the mechanism.
Step 4: Handle the Monitor Screen with Care
The monitor screen itself requires special care. Use screen-specific cleaners or a barely damp microfiber cloth to clean the screen. Avoid circular motions and be gentle with the pressure to protect the screen's coating.
Step 5: Finish and Reassemble
Allow all parts to dry completely before reassembling your setup. Test all moving parts to ensure the arm is functioning smoothly. Reattach the monitor and cables after confirming the arm's full range of motion is unaffected.
🔧 How to Maintain Your Monitor Arm Mechanisms
Proper maintenance extends the life of your monitor arm and ensures it operates optimally. Here's what you should do regularly to maintain your arm's mechanisms.
Step 1: Tighten All Loose Screws and Bolts
Check for any loose screws or bolts monthly. Use an Allen wrench or screwdriver to secure them without over-tightening, which could damage the threads. Pay special attention to the mounting points where your monitor is attached.
Step 2: Lubricate Essential Moving Parts
If your monitor arm requires lubrication (refer to your manual), apply a small amount of lubricant on the moving parts, particularly at the joints. This prevents dust accumulation and ensures smooth movement.
Step 3: Adjust Arm Tension for Smooth Movement
If your monitor droops or the arm feels stiff, it’s time to adjust the tension screws. These are usually located near the joints and allow you to fine-tune the movement. Make small, incremental adjustments and test the movement after each change until the arm operates smoothly.
Step 4: Organize Cables to Prevent Strain
Use cable guides and clips to keep cables neatly organized. Ensure there is enough slack to allow free movement of the arm without straining the connections. Damaged clips should be replaced promptly.
⚠️ Common Monitor Arm Problems and Solutions
Despite regular maintenance, monitor arms can sometimes experience issues. Here are some common problems and how to fix them:
“My Monitor Keeps Drooping”
This typically means the arm can’t support the monitor's weight. First, check that the weight of your monitor matches the arm's specifications. Then, adjust the tension screw to ensure the arm can hold the monitor in place.
“The Arm Won’t Move Smoothly”
If your arm feels stiff, it’s likely due to high tension or dry joints. Loosen the tension screw and, if needed, apply lubricant to the joints to restore smooth movement.
“My Monitor Arm Makes Noise”
If you hear squeaking or grinding noises, it’s probably due to friction between the moving parts. Apply a small amount of lubricant to the joints, and check if the screws are tightened properly.
🚨 How to Prevent Monitor Arm Problems
Prevention is key to keeping your monitor arm in good working condition. Regular checks can help identify minor issues before they become serious.
Step 1: Check Monthly
Take a moment each month to check all screws, tighten any loose parts, and clean off accumulated dust. Test the joints by gently pressing each one to ensure smooth movement.
Step 2: Keep the Area Clean
Keep your monitor arm away from dusty areas, like open windows or printers. Dust buildup can cause friction and affect movement. If you're not using the arm, cover it to keep dust off.
Step 3: Stay Within Weight Limits
Monitor arms have a maximum weight capacity. Always check the arm's weight limit before mounting your monitor. Overloading the arm can cause damage to the mechanism and make adjustments difficult.
Step 4: Fix Problems Early
Address issues like drooping monitors or stiff joints as soon as they arise. Early intervention can prevent costly repairs down the road.
🛠 Keep Your Monitor Arm Working Well!
Regular cleaning and maintenance are crucial to ensuring your monitor arm works smoothly and lasts longer. By following these steps, you’ll avoid common issues, reduce wear and tear, and keep your workspace organized and functional.
Whether you're using your arm for work or gaming, proper care will make a significant difference in your overall experience. A well-maintained arm ensures smooth, comfortable use day after day.
Shop for High-Quality Monitor Arms
Looking to upgrade your workspace with a high-quality monitor arm? Explore options that offer smooth adjustability, stability, and ergonomic benefits. A good monitor arm is a valuable addition to any setup.

Leave a comment
All comments are moderated before being published.
This site is protected by hCaptcha and the hCaptcha Privacy Policy and Terms of Service apply.