

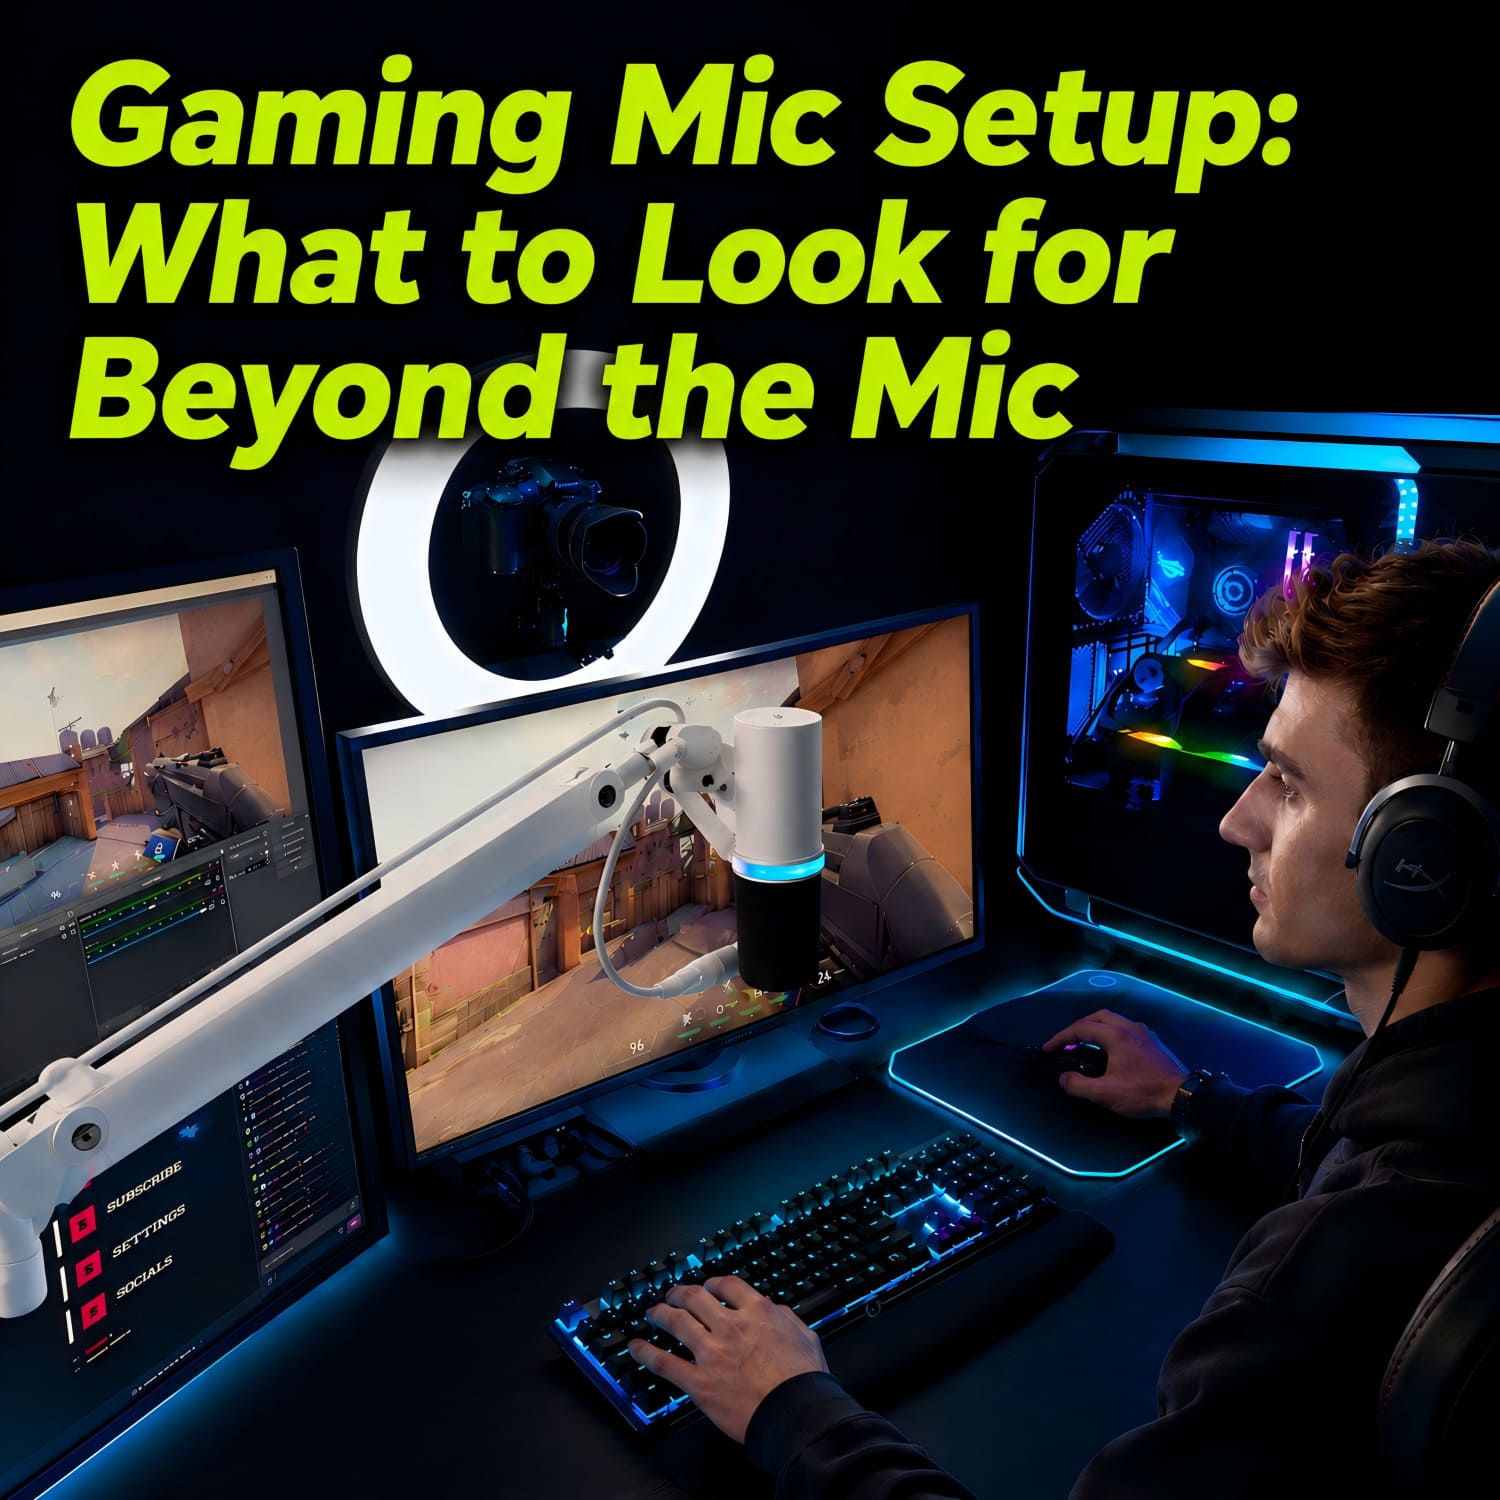
Most gaming mic guides overlook placement and environment. Even an expensive microphone can sound poor if positioned badly—distant or picking up keyboard noise. Mic quality accounts for only a small portion of final sound. The key is positioning: 4–6 inches from your mouth, slightly off-axis.
🎙️What to Look for in a Gaming Microphone Setup (Not Just the Mic)
You've just purchased what is widely regarded as the best microphone for gaming. You plug it in, launch your favorite game, and join the team chat. Then comes the familiar response:
"You sound distant."
"What's that clicking noise?"
"Your audio keeps cutting out."

This scenario is far too common. The issue is not necessarily the microphone itself, but the fact that most buying guides focus exclusively on the mic — and completely overlook the importance of where and how it is placed.
Let's address that gap.
⚠️Why Most "Mic Buying Guides" Are Incomplete
Most online guides for gaming microphones emphasize the following features:
- Sound clarity and frequency response
- Polar patterns (cardioid, omnidirectional, etc.)
- USB vs. XLR connectivity
- Aesthetic elements such as RGB lighting
These are all important, of course, but they almost never mention:
Where should the microphone actually be positioned?
Without proper placement, a $300 microphone can easily perform worse than a $50 one. Positioning is not something that can be fixed with equalizers or software filters — it is a physical constraint that must be addressed at the setup level.
🔊The 3 Real Factors That Affect Your Mic Quality
1. Microphone Quality (The Obvious One)
Microphone quality does matter. A decent microphone with good frequency response and noise rejection is the baseline. However, it accounts for only about 30% of the final sound quality in a real-world gaming environment.
2. Environment (Often Ignored)
Environmental factors play a significant role:
- Room acoustics (hard surfaces create echo)
- Background noise (PC fans, air conditioning, household activity)
- Keyboard and mouse clicks
A high-sensitivity microphone will pick up all of these — including the sounds you do not want.
3. Positioning (Most Important)
This is where the majority of gamers struggle.
- Distance from mouth: Too far → quiet and echo-prone; too close → plosives (popping sounds on "p" and "b")
- Angle: Off-axis speaking → thin, inconsistent volume
- Placement on desk: Sitting directly on the desk → every keystroke is transmitted clearly, and any accidental bump or knock travels straight through your desk and into your microphone
Positioning is the number one reason for poor voice clarity in team communication. And no microphone, regardless of price, can compensate for consistently bad placement.
But how to position a gaming microphone correctly? Let’s explore this further.
🦾Why a Microphone Boom Arm Changes Everything
Achieving ideal positioning is nearly impossible with a standard desk stand. This is where a microphone boom arm becomes essential.
Flexibility and Precision
A boom arm allows you to position the microphone exactly where it needs to be:
- 4–6 inches from your mouth
- Slightly off-axis to avoid plosives
- Position the mic above the keyboard plane (so it’s closer to your mouth) but off to the side — not hovering directly over the keys

Noise Reduction
A boom arm reduces unwanted noise in two ways:
- Shortens the distance to your mouth: The closer the mic, the lower you can set the gain. Lower gain means less background noise — but within reason. The real win is a better signal-to-noise ratio: your voice becomes much louder than the keyboard and room noise, without having to crank the gain to its limit.
- Lifts the mic off the desk surface: Placing the mic on a desk stand turns the entire desktop into a soundboard. Every keystroke, mouse click, and desk vibration travels directly into the mic. A boom arm breaks that physical connection, isolating the microphone from structural noise.
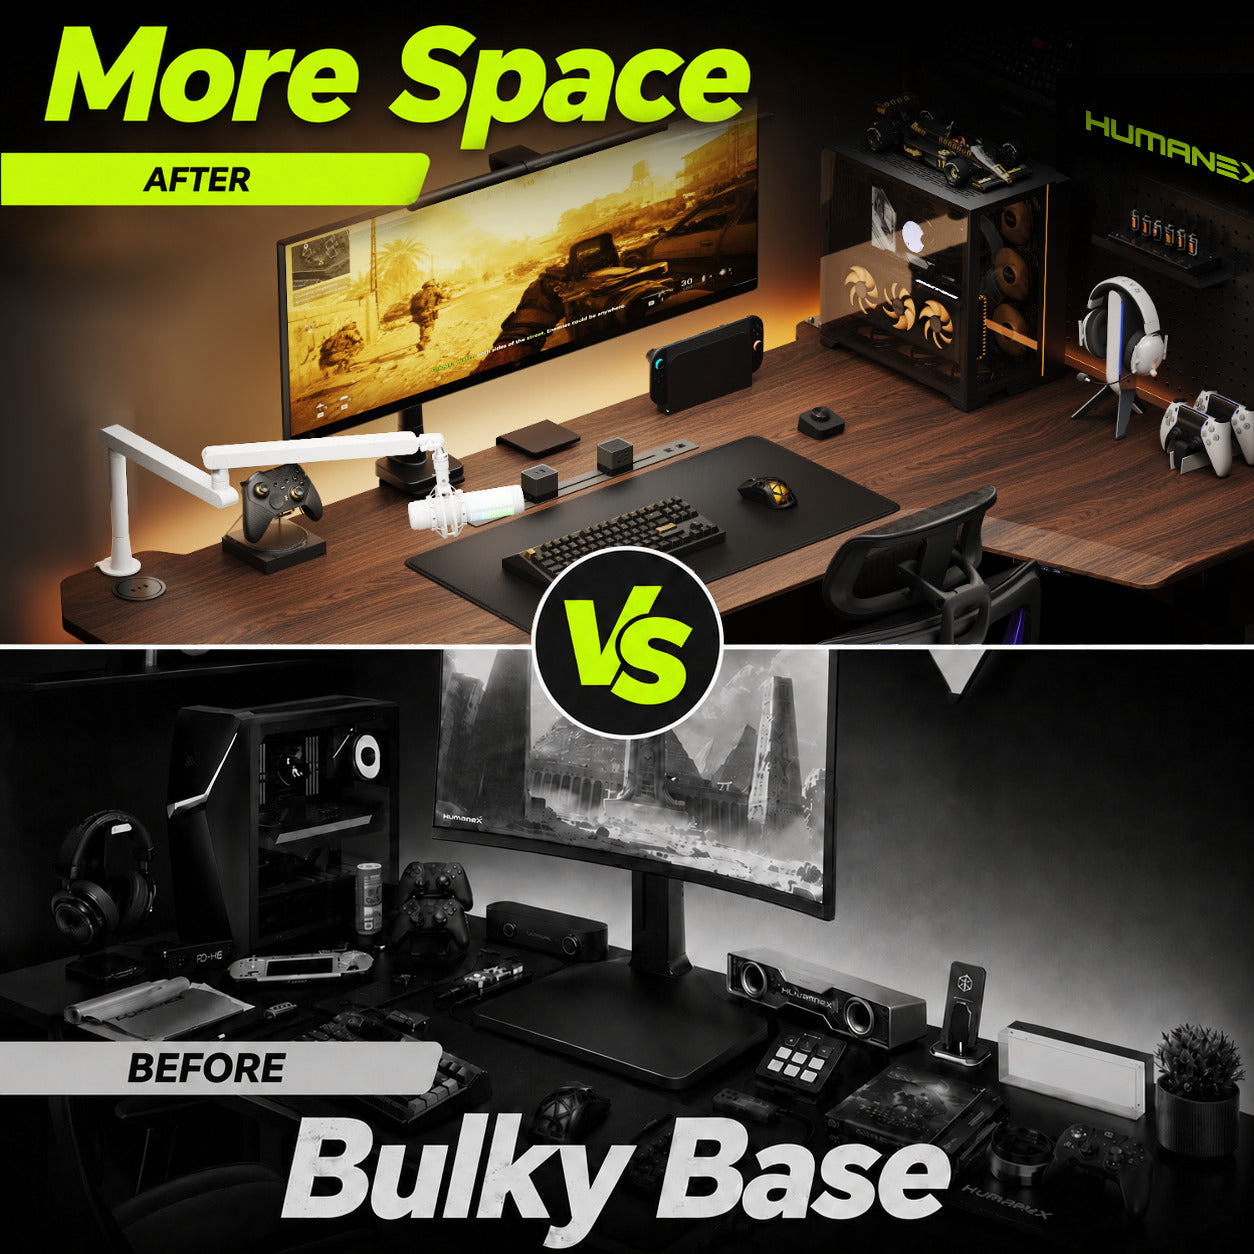
Desk Space Optimization
A boom arm mounts securely to the edge of your desk, freeing up valuable mouse and keyboard space. This is not just a convenience — it also removes physical clutter that can affect gameplay comfort.
⚖️Budget vs. Optimized Microphone Setup
Budget Setup
- A decent USB microphone (e.g., HyperX SoloCast, Razer Seiren Mini)
- The included stock desk stand
Result: Acceptable but inconsistent. A desk stand turns your entire desktop into a drumhead — every keystroke and vibration pounds straight into the mic.
What’s more, a desk stand can be easily knocked out of position by your hand or any accidental bump, making it impossible to keep your microphone in the ideal spot for long.
Optimized Setup (Recommended)
- The same USB microphone — or an XLR upgrade if desired
- Addition of a professional boom arm — this is the single most impactful change
We recommend the HMX AX-3G Professional Studio Boom Arm for the following reasons:
- Full 360° rotation with adjustable horizontal and vertical reach
- Integrated cable management system
- Reliable metal construction — no sagging over time
- Compatible with clamp or grommet mounting (fits nearly any desk thickness)
This component transforms a "good microphone" into a reliable, consistent gaming audio setup.
❌Common Mistakes Gamers Make
- Leaving the microphone on the desk — picks up every keyboard click and vibration
- Positioning the microphone too far away — results in a quiet, hollow sound
- Speaking off-axis — voice volume drops when turning the head
- Not using a boom arm — unable to achieve and maintain ideal positioning
- Increasing gain to compensate — amplifies background noise, not just voice
Avoiding these mistakes will immediately improve your sound quality more than upgrading to a more expensive microphone.
🛠️Best Gaming Mic Setup Layout (Visual Guide)
Look at your desk from the top down:

Here’s what the ideal layout looks like:
- Monitor: centered
- Keyboard: directly in front of the monitor
- Mouse: to the right (or left, depending on preference)
- Boom arm mount: rear, left or right edge of the desk (recommend mounting on your non-dominant side)
- Boom arm extension: reaching toward your face from the left or right side. The mic should not hang directly above the keyboard — that’s where your hands move.
- Microphone position: 4–6 inches from your mouth, at mouth level, angled but not directly in front of the lips.
This layout ensures that:
- The microphone maintains a consistent position relative to your mouth
- Keyboard noise remains off-axis and significantly reduced
- Desktop space remains uncluttered
🎯Final Thoughts: Don't Just Upgrade Your Mic — Upgrade Its Position
A high-quality microphone sets an upper limit on your potential audio quality. But a boom arm ensures that you consistently achieve that potential.
Before purchasing your next "best microphone for gaming", ask yourself one question:
"Have I built the right setup to support it?"
Because in gaming audio, positioning consistently outperforms raw specifications.

Leave a comment
All comments are moderated before being published.
This site is protected by hCaptcha and the hCaptcha Privacy Policy and Terms of Service apply.